


Your garage floor is the silent workhorse of your home, taking on the weight of two-ton vehicles, the potential mess of oil changes, and the countless steps of your daily life. Yet, it often gets the least attention for something so integral to daily function. Isn’t it high time you give your garage floor the makeover it deserves?
Before we roll up our sleeves and get our hands dirty, why is a polyurea garage floor the ultimate upgrade for your home garage? It’s not just about looks- though the high-gloss finish isn’t something to scoff at-it’s also highly resistant to chemicals, abrasion, and hot tire pick-up.
Read On To Learn More About This Flooring Guide
Step 1: Preparing the Garage
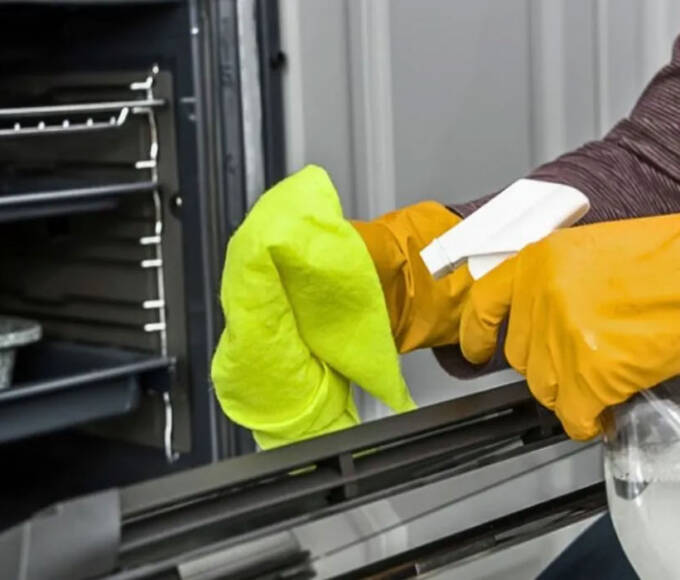
Begin by moving everything out of the garage. Items on the floor could potentially interfere with the coating process and compromise the final look of the job. This is also an excellent opportunity to declutter and organize.
A clean slate is crucial to a successful polyurea installation. Start with a good sweep, then use a degreaser and a power washer to remove dirt and oil. You may need to use a wire brush or grinder for stubborn stains.
Polyurea is unforgiving; any cracks or pitting will show through the finish. When considering a polyurea garage floor coating, the investment is in materials, longevity, and ease of maintenance. A garage floor coating cost will vary based on the size of your garage and the condition of your existing floor.
Step 2: Applying the Primer
The suitable primer bridges the concrete floor and the polyurea, ensuring a strong bond. Ensure to get a primer recommended for use with polyurea coatings.
Follow the manufacturer’s instructions for mixing the primer. Be mindful of the pot’s lifetime time after mixing and before the primer starts to set because using old primers could lead to adhesion issues.
Step 3: Mixing and Applying the Polyurea Coating
Polyurea involves a resin and a hardener. Mix them according to the manufacturer’s instructions. Temperature and humidity can affect the mix, so be aware of the conditions in your garage.
Apply the polyurea in thin, even layers. A notched squeegee can help spread the coating. You’ll want to work -on polyurea sets, so don’t let it sit too long in the bucket or floor.
Once the coating is spread out, use a roller to go over the surface, smoothing it out and ensuring a consistent thickness. Check for air bubbles and smooth them out immediately for a professional finish.
Step 4: Curing and Finishing
Follow the curing time recommended by the manufacturer. This is usually faster than traditional epoxy, but patience is key. A cured polyurea floor is a durable floor.
While not always necessary, a topcoat can add an extra layer of protection, especially in heavy traffic areas. Like the primer, make sure it’s compatible with polyurea.
Understanding the Step-by-Step Guide to Installing a Polyurea Garage Floor
Remember, this is the beginning. Familiarize yourself with proper maintenance for your new garage floor, and reveal that you mastered a project that many would leave to professionals. Your DIY installation journey has led you to a new level of home improvement prowess- a garage enthusiast!
So, take that first step in revealing the beauty and brawn a polyurea garage floor can offer. Your vehicles, home, and personal satisfaction will be floored in more ways than one.
For more helpful tips, check out the rest of our site today!


